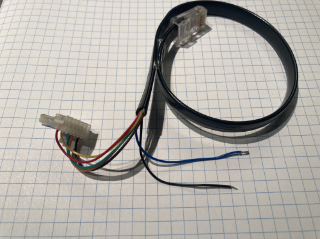
LX200 Fork-Arm Internal Cable
Replacement for the LX200 DEC cable inside the fork. This cable connects the DEC motor and encoder PCB on one end, to the inside connection of the fork arm connector. It has an 8-pin RJ-type plug on one end; on the other it has a 6-pin IDC connector to the encoder PCB, and two tinned leads for soldering directly to the motor. Two short lengths of heat-shrink tubing are included.
For the 8", 10", and 12" LX200 Classic telescope.
$30.00*
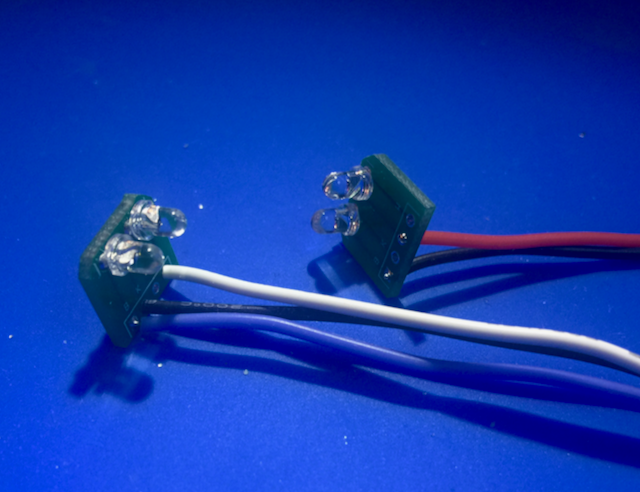
IR Component Harnesses
Pre-tested assemblies, with wiring harness and PC boards, mounting two IR LEDs and two IR phototransistors, replacing the parts originally provided on one RA or DEC motor encoder housing. These help make replacement easier and avoid stress on leads. Sold as a set, as shown.
For the 8", 10", and 12" LX200 Classic telescope, and may also fit the LXD750/LXD650 mounts.
$22.00*
Motor Assembly Hardware Kit
Hardware parts for the RA and DEC motor assembly. Included:
- 2 Mounting Cap Screws
- Compression Spring
- Encoder PCB Nylon Spacer
- Encoder Mounting Cap Screw
- Adjustment Set Screw
For the 8", 10", and 12" LX200 Classic telescope, and may also fit the LXD750/LXD650 mounts.
$10.00*

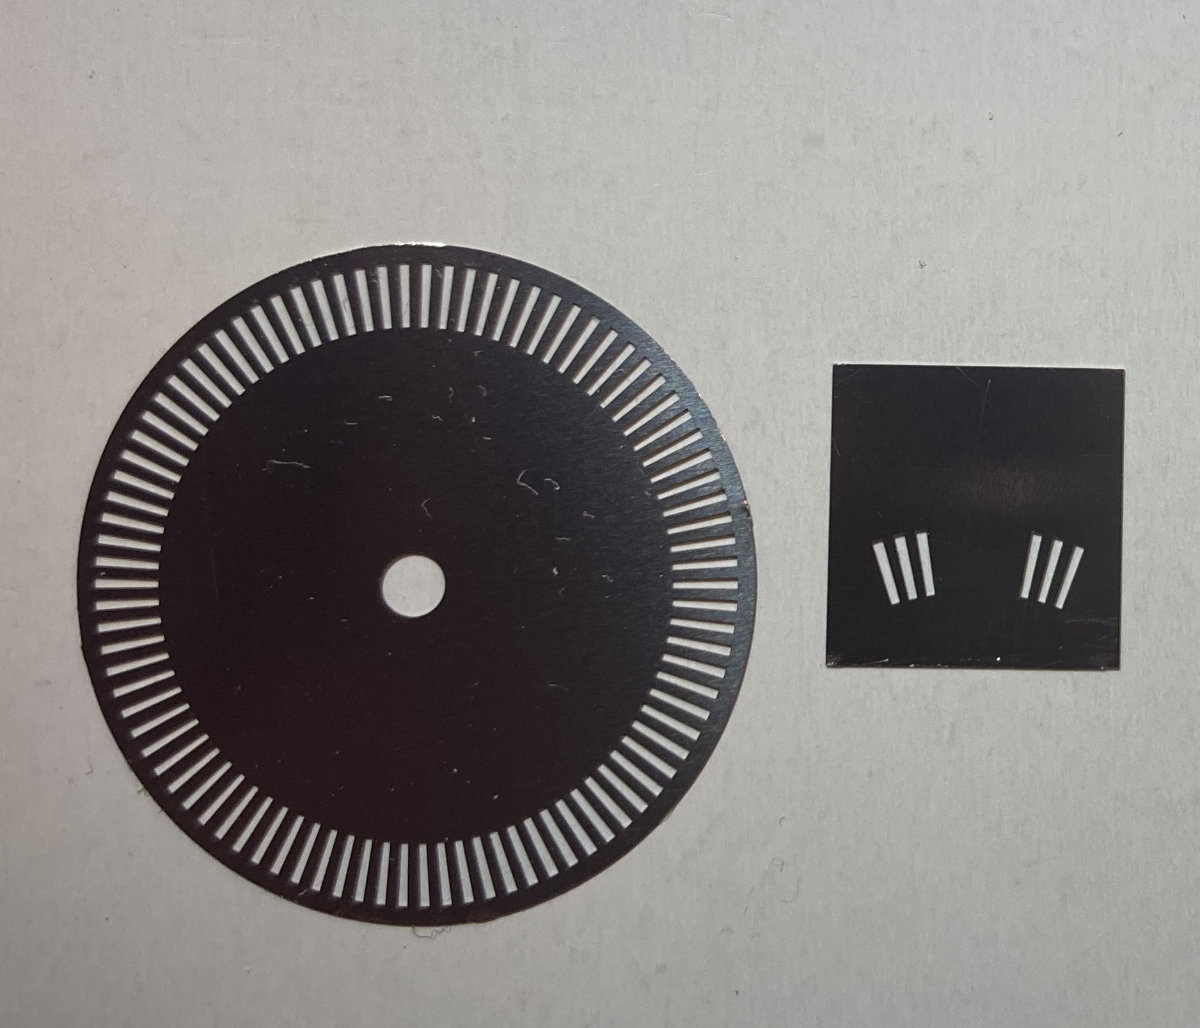
Motor Encoder Wheel and Mask
These are replacments for the wheel and mask in the motor assembly gearbox, that work together to convert the motor rotation to an electronic pulse signal.
- Encoder disk for mounting on motor axle
- Mask
For the 8", 10", and 12" LX200 Classic telescope, and the LXD750/LXD650 mounts.
$20.00*
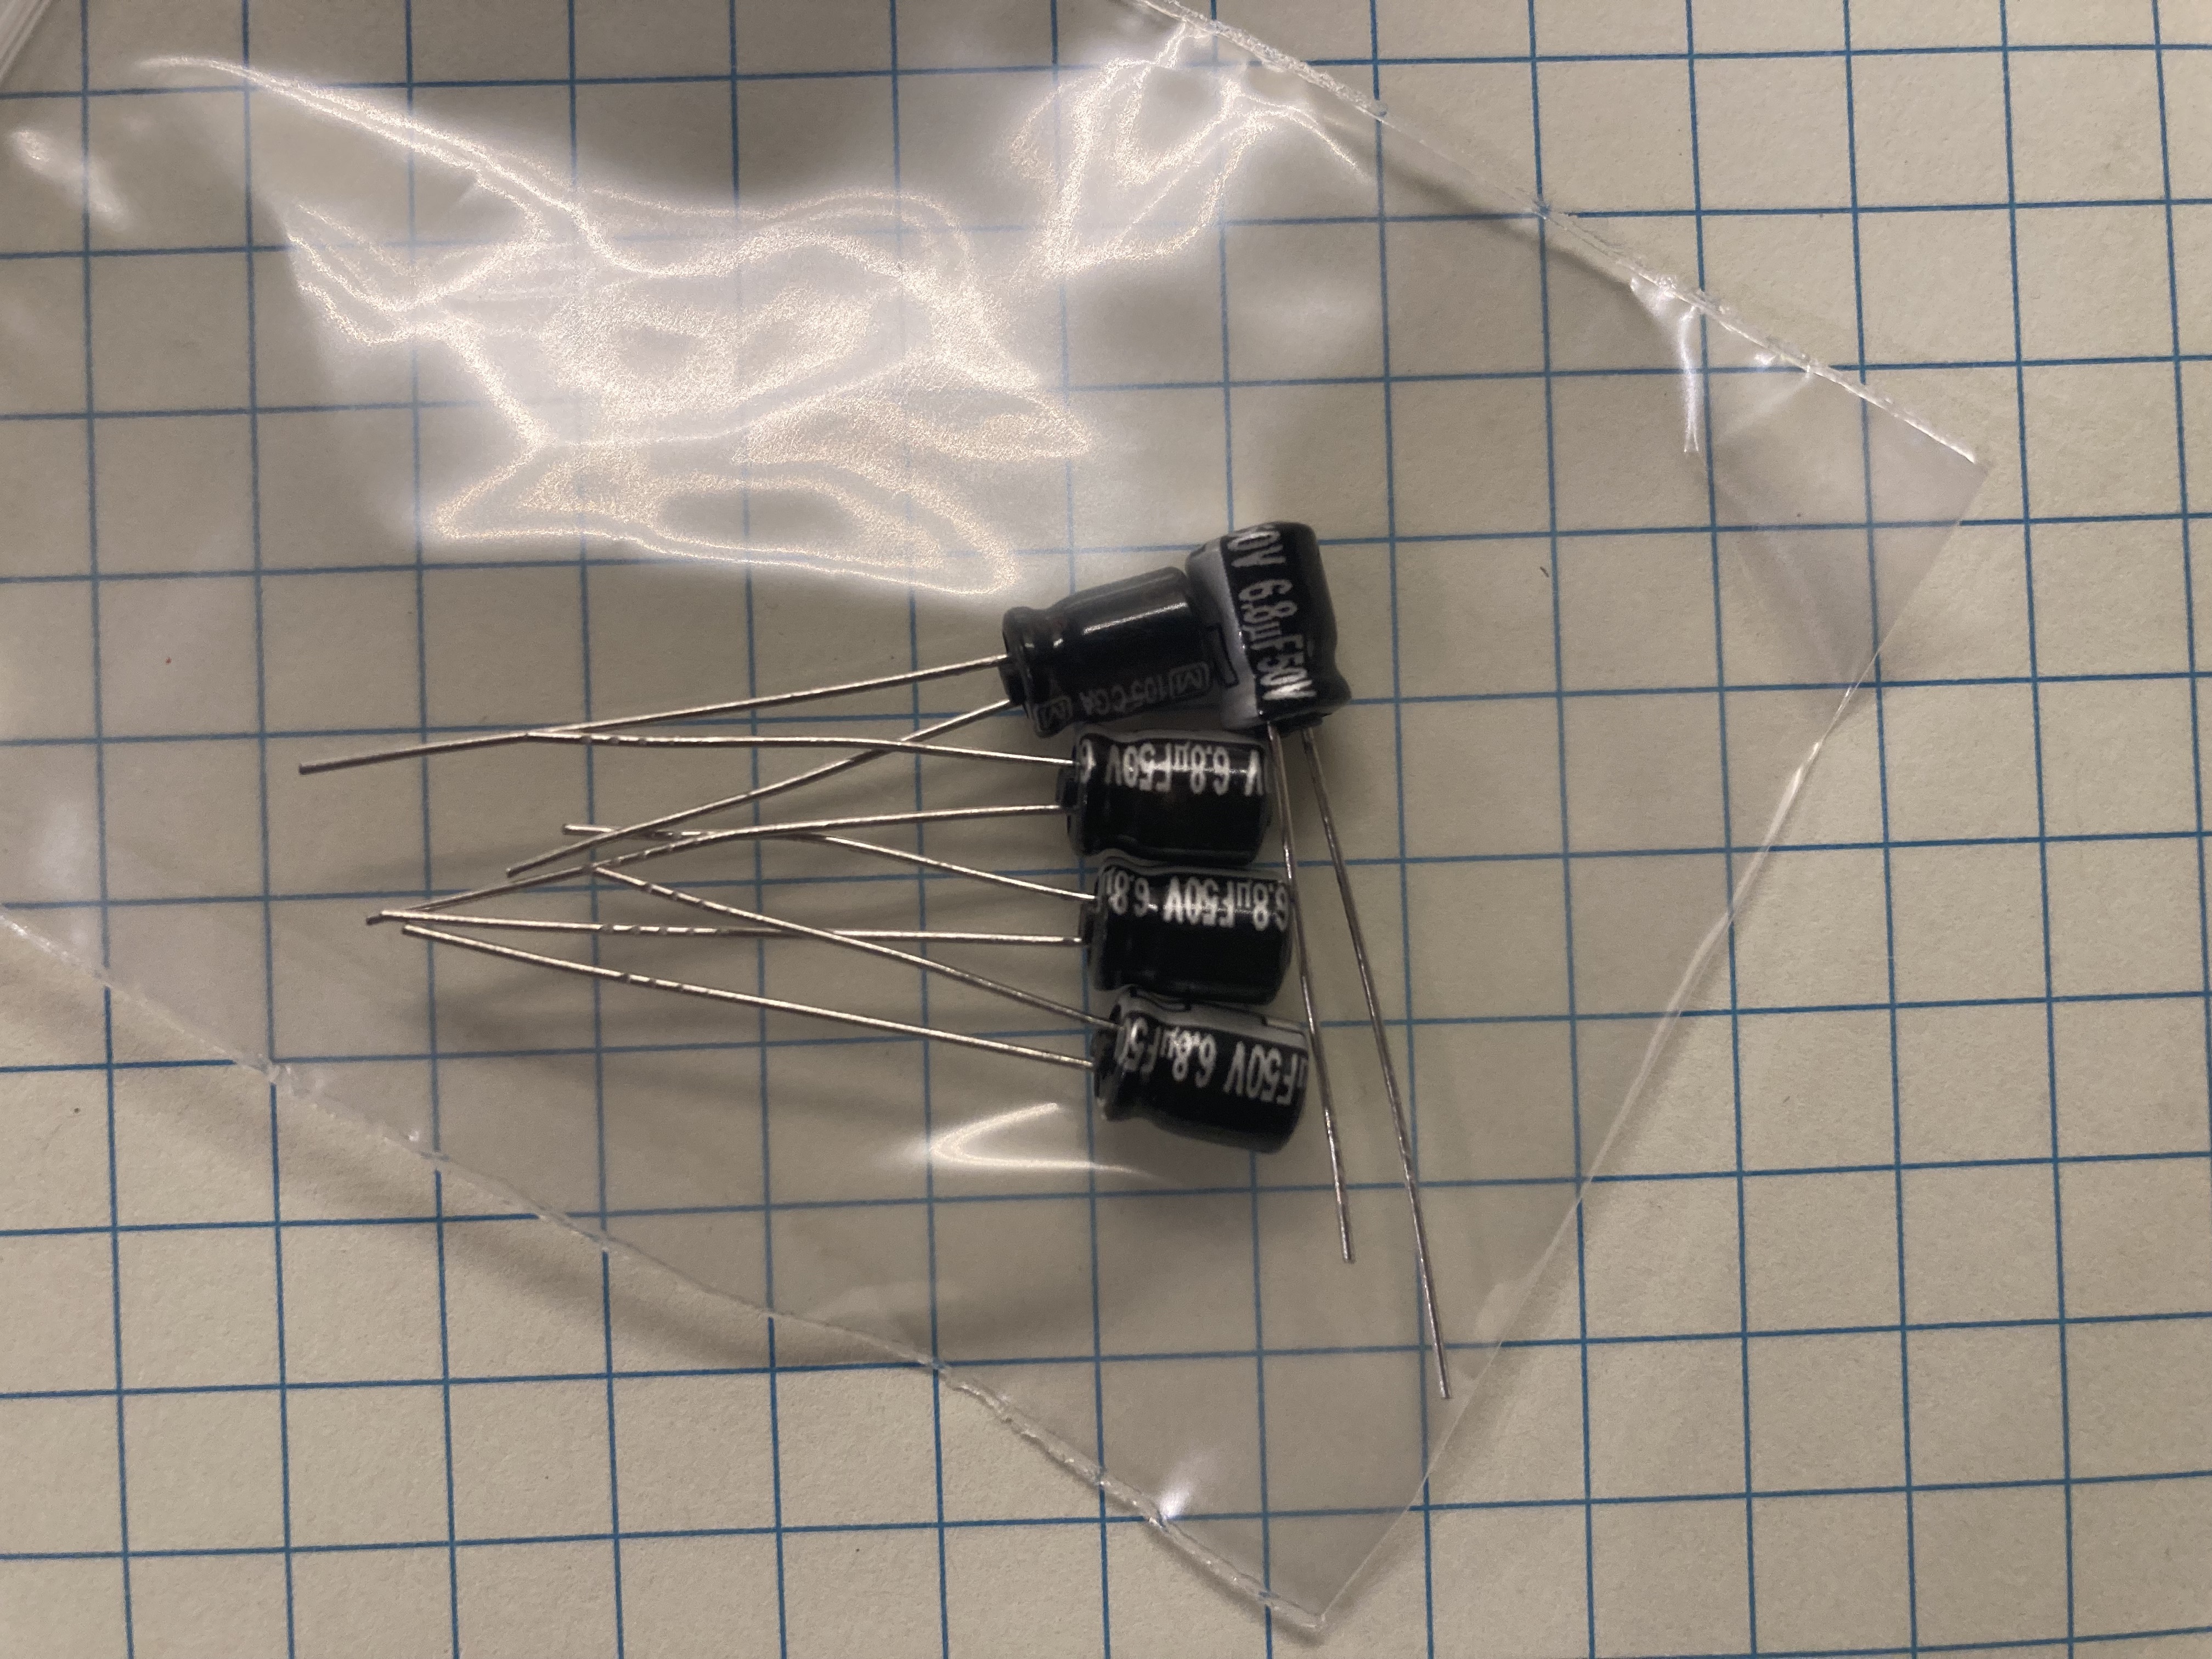
Replacement Capacitor Kit
Set of 5 electrolytic capacitors to replace 5 original 25V tantalum capacitors. The capacitors are 6.8 uF, rated at 50V.
For the 8", 10", and 12" LX200 Classic telescope, and may also fit the LXD750/LXD650 mounts.
$10.00*
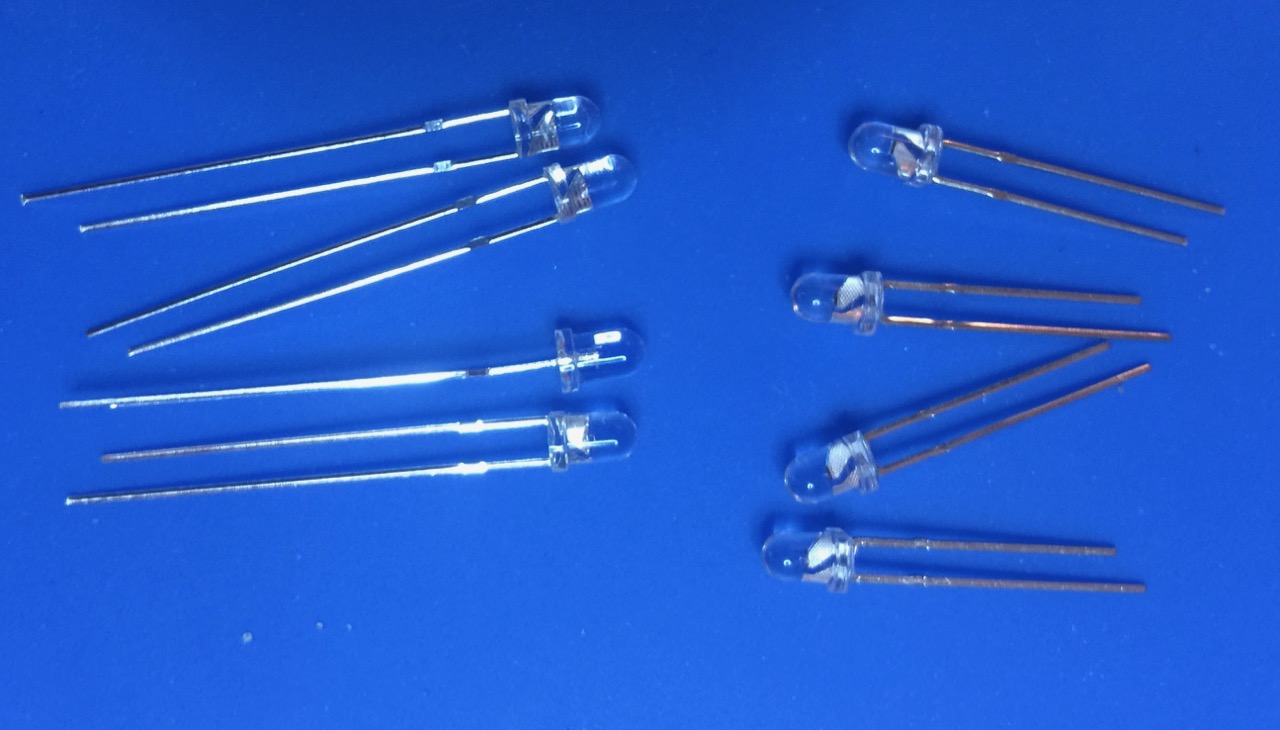
Replacement Optical Components
Set of IR LEDs with the corresponding phototransistors. These replace the optical components in the RA and DEC motor encoders. Includes 4 ea. Ligitek LIR2043, and 4 ea. Ligitek LPT2023, enough for both motor assemblies.
For the 8", 10", and 12" LX200 Classic telescope, and may also fit the LXD750/LXD650 mounts.
$10.00*